The job you've tasked your attachment with is only as good as the condition the attachment is in. Does that make sense? To ensure your equipment runs at optimal performance, you'll have to manage the care and upkeep of all attachments in your arsenal. This post will cover how to replace the wafers on a Pick-Up Broom—a job you're definitely cut out for.
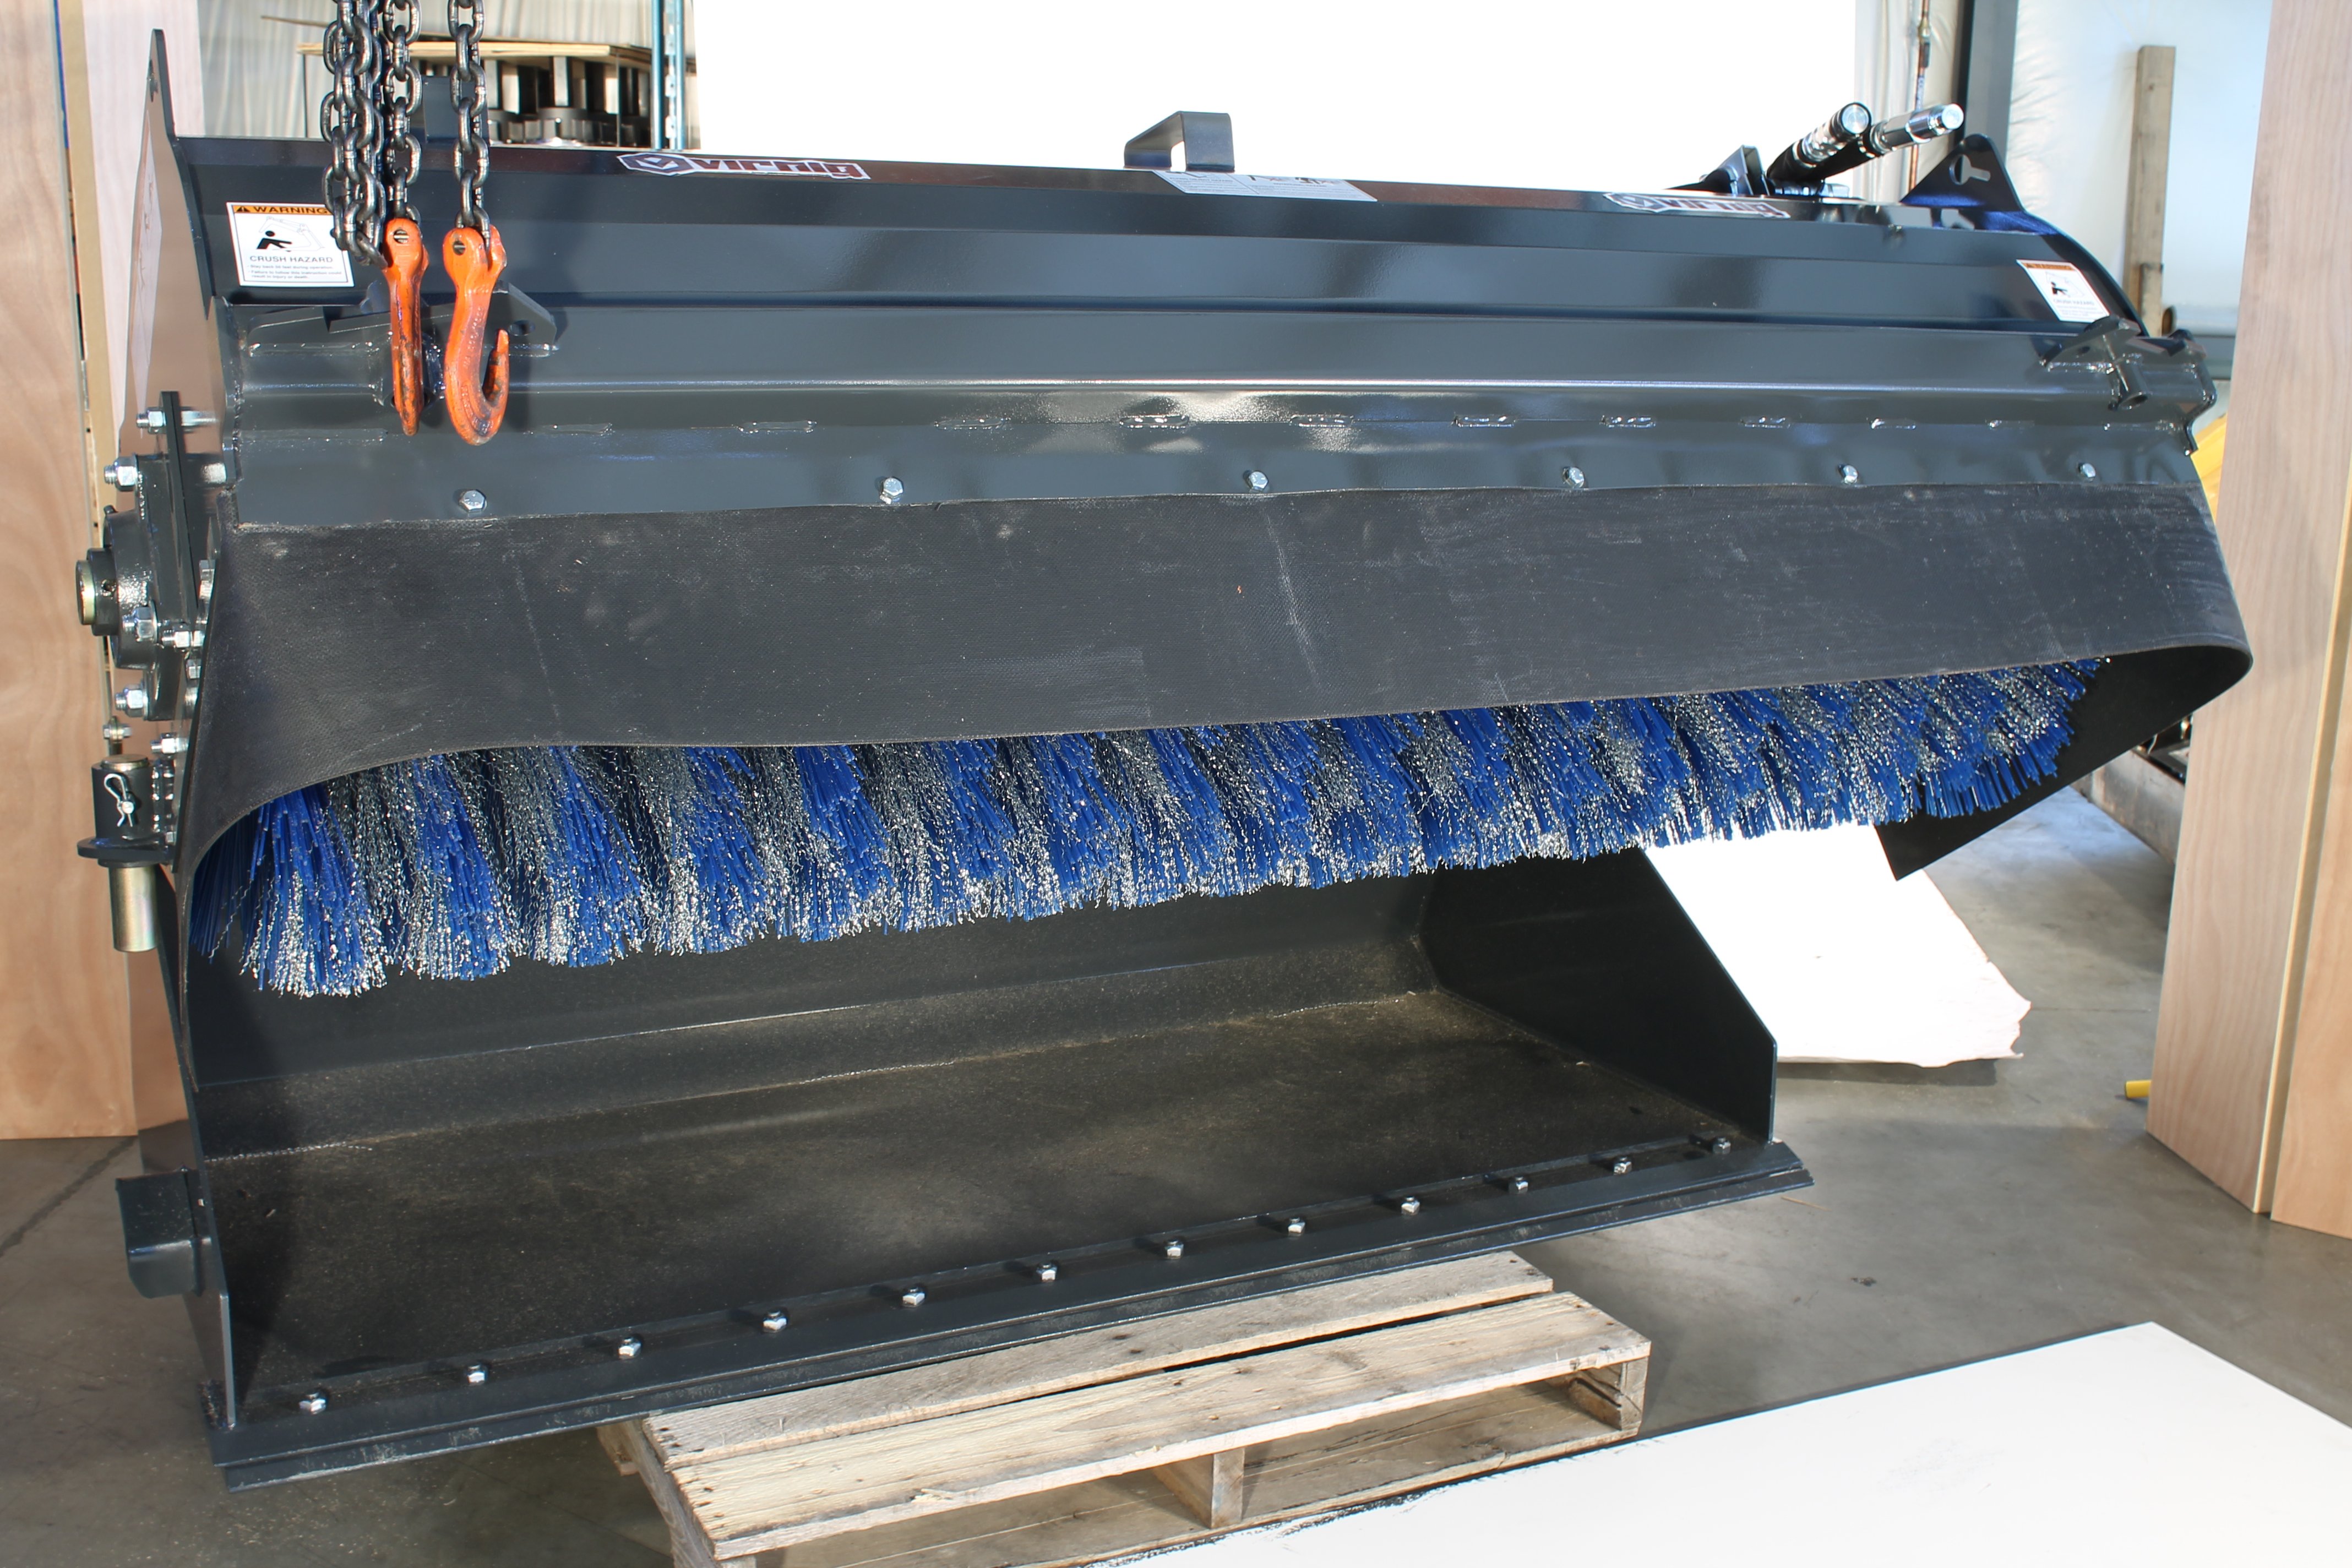
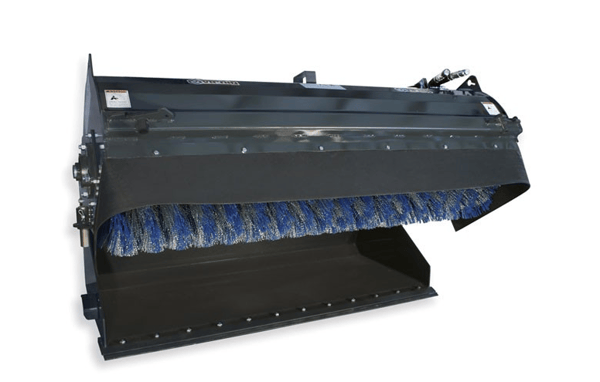
The bristles of your sweeping broom are called wafers. The Virnig Pick-Up Broom is engineered to accommodate easy exchange of wafers without disconnecting hydraulic lines.Maintenance Schedule
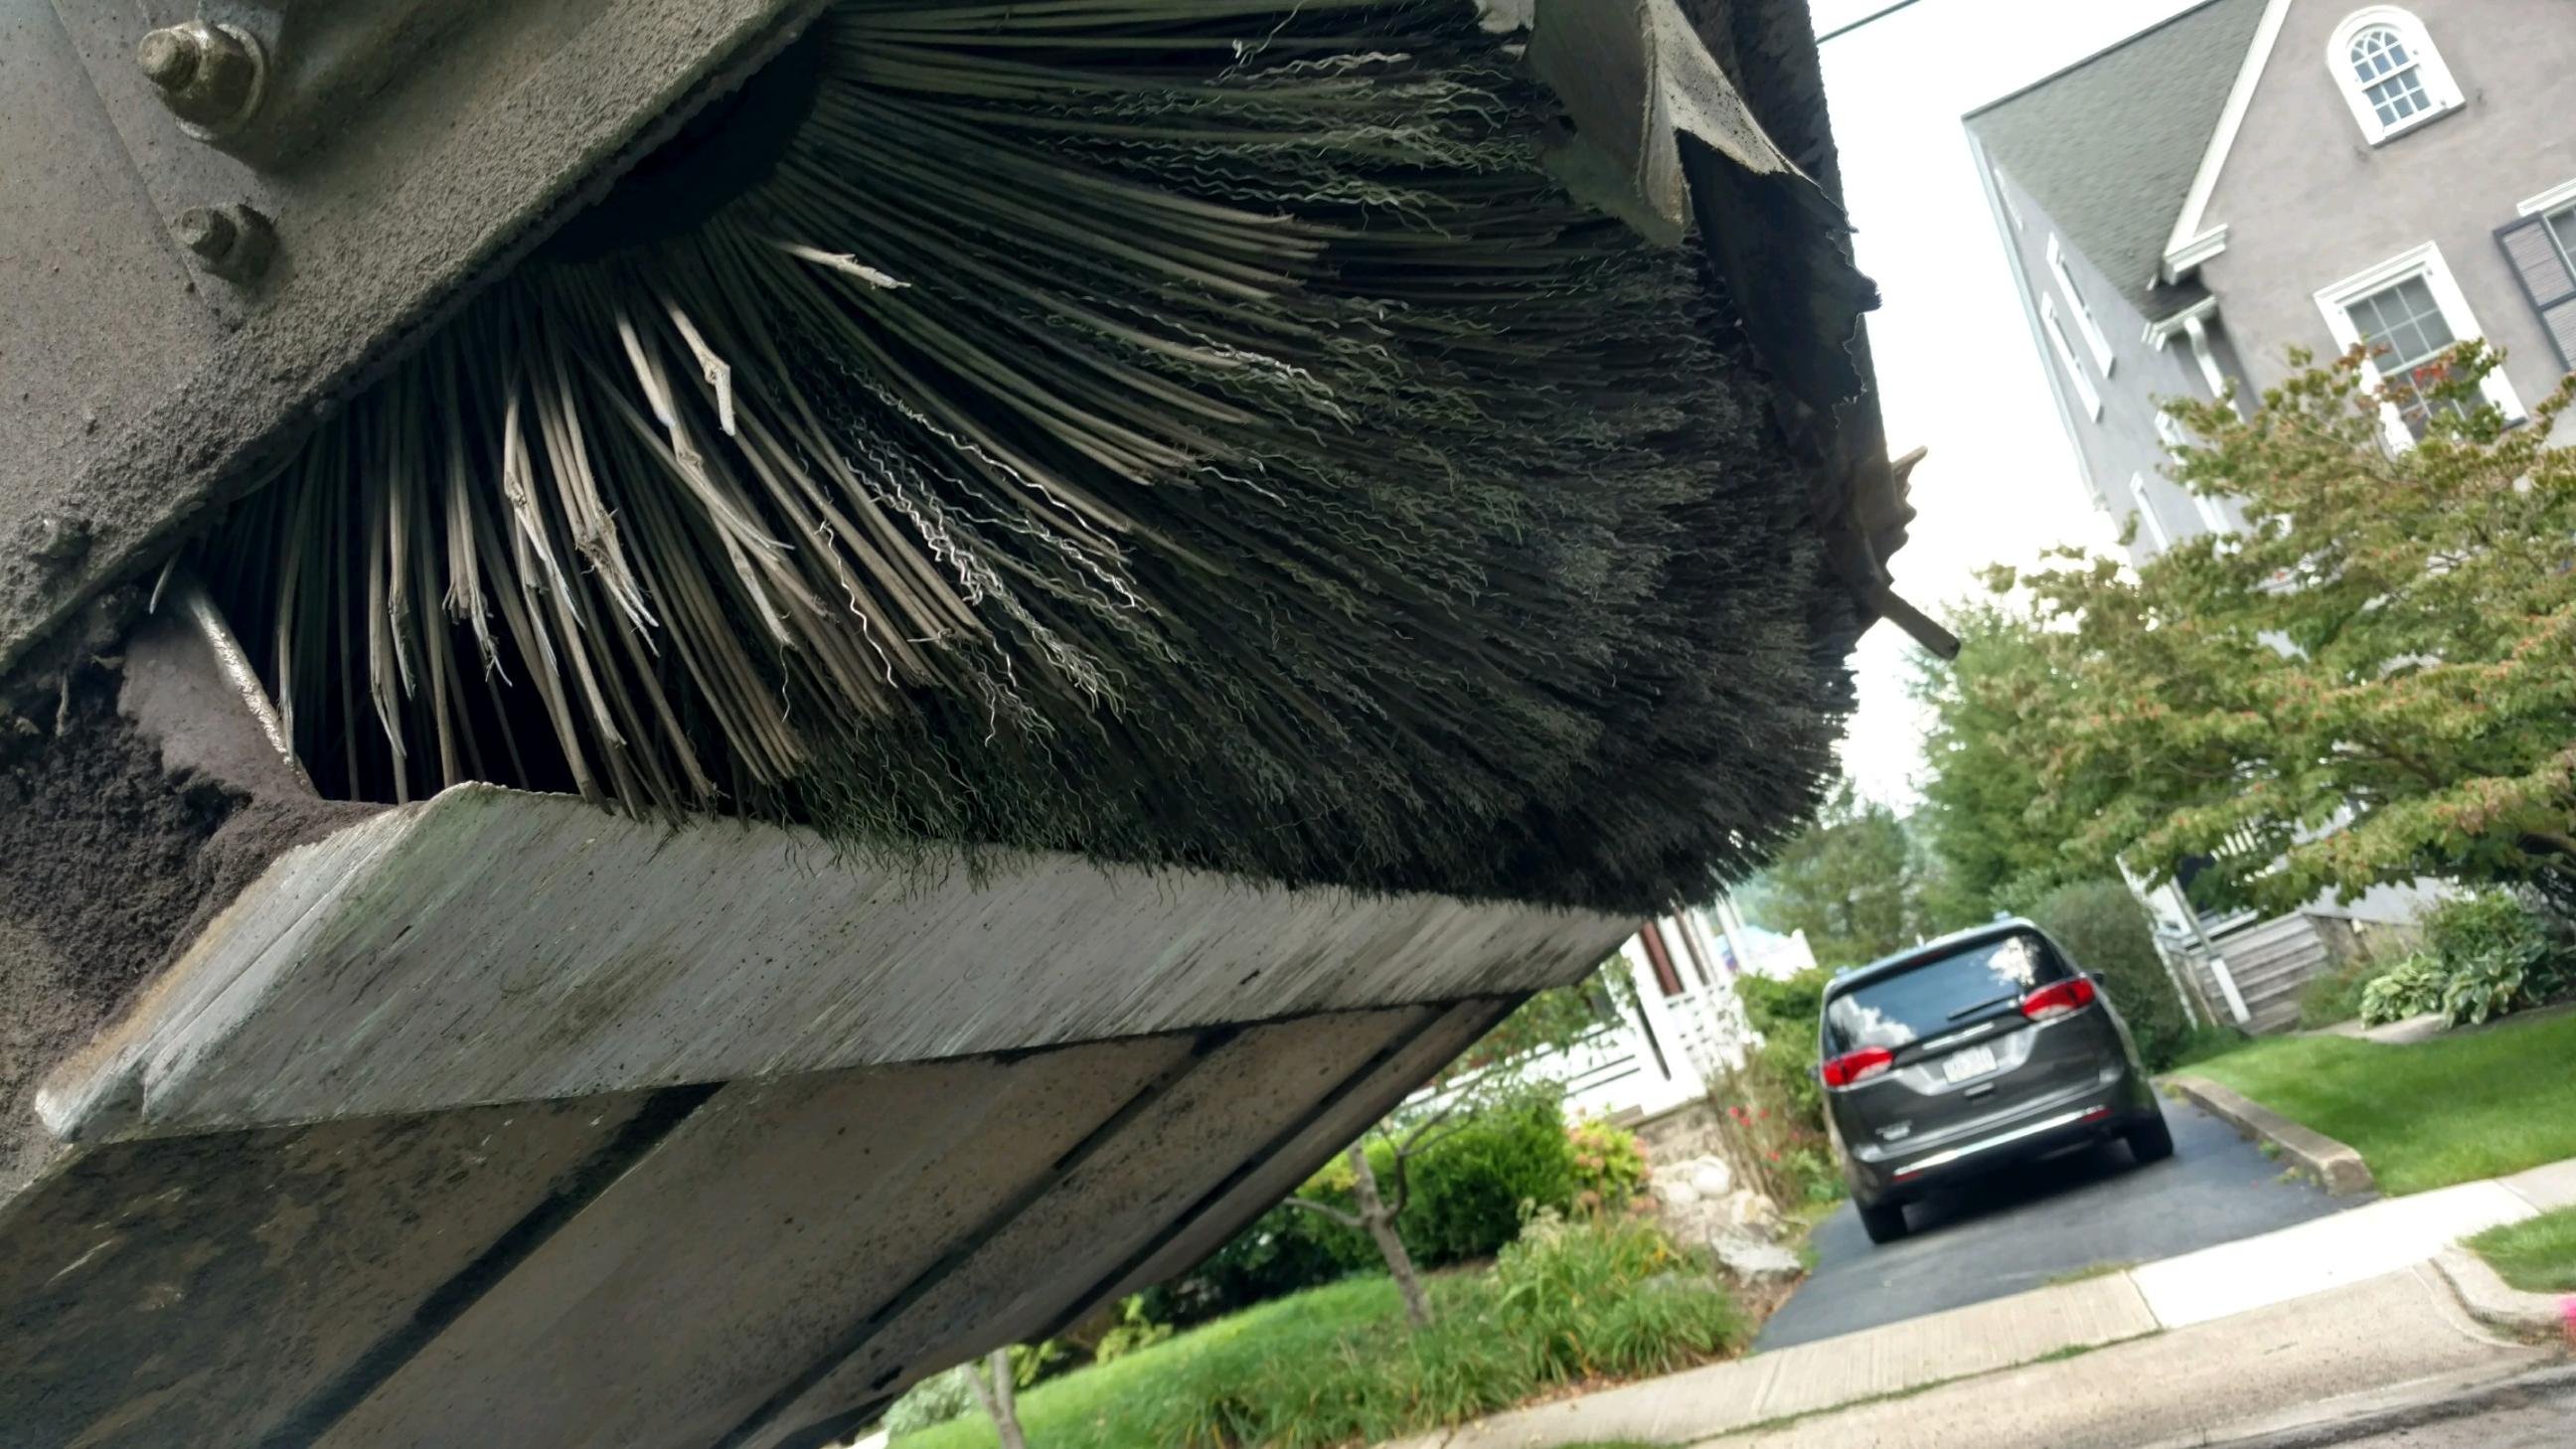
Before each use and after every 10 hours of operation, check for wear on the wafers. If the outside of the diameter of the wafers is one-half of the original diameter, they need to be replaced—original diameter of wafers on the Pick-Up Broom is 26".
Here are two photos showing what to look for when it's time to replace your wafers.
Tools Required
- Socket wrenches or open ended wrenches
- 3/4" for motor nuts
- 9/16” for the cap on the end of the core to take the wafers off
- Replacement wafers
Steps to Replacing Wafers
Turn the engine off and move the broom attachment to a level surface. Lower the broom to align with surface. Using a 3/4" (or 19mm) wrench, remove the 1/2" bolts to remove the plates. A 3/8" bolt is what attaches the Drive Adapter to the Hydraulic Motor and requires a 9/16" wrench—using impact wrenches with sockets will make the job faster.
1. Remove Hydraulic Motor Assembly
Remove the lead hoses from the hose clamp. Remove the four nuts holding the Hydraulic Motor Assembly in place. Remove the four additional nuts holding the Bearing Mount Plate to remove bearing.
2. Remove Plates
The core should be free from the brush head noting the core may have to be pushed toward the motor end to allow the Drum Engagement Plates to drop from the brush head. Lift the brush head and remove to expose the core. Remove Retaining Plate from the end of the core.
3. Remove Old Brush Sections
Inspect drive bars for indentations or excessive wear. Inspect Broom Drive Flange Weldment for wear and/or damage. Replace core cage if damaged.
4. Install New Brush Sections
Stand the core on its end and install new brush sections, ensuring the drive pins of the wafers engage one of the core drive bars. For a snug fit, install consecutive wafers so drive pins are spaced 180° apart. Starting with a poly wafer, alternate between poly and wire wafers until core is full. The ending wafer should be poly.
5. Reinstall Plates
Reinstall the Retaining Plate and lay the core on the ground carefully, not using the wafers to move the core. Lower brush head over core with new brush sections. Again, the core may have to be pushed toward the motor end to allow the Drum Engagement Plates to bypass the hood side plate. Reinstall Bearing Mount Plate, securing with nuts.
6. Reinstall Hydraulic Motor Assembly
Before reinstalling the motor, remove the 3/8" bolt holding the Drive Adapter on the Hydraulic Motor and apply a thin layer of grease to splines of the motor. Reinstall Drive Adapter to the Hydraulic Motor; reinstall Hydraulic Motor Assembly and secure with nuts. And finally, reinstall lead hoses in hose clamp.
Where to Buy New Wafers
Contact your local Virnig dealer to purchase replacement wafers.
To find your nearest dealer, visit our website.
(We do not recommend purchasing elsewhere, since our dealers will make sure you get the right size and quantity.)
Notes:
One regular question we get: "Did I get enough wafers?" (They sometimes get compacted in shipping so it looks like there aren’t enough).
Solution: Before starting, count out the wafers and make sure that the quantity matches what is supposed to come on the broom from the factory.
Now that you've installed your new wafers, you're ready to return to cleaning up debris to ensure the path you leave behind is clean and admirable. Are you getting the most out of your skid steer broom attachment? Download this complimentary guide to learn even more than how to replace brushes.
