Tips on how to use a skid steer loader bucket to become more efficient at finish grading soil.
Need to grade dirt around a new building or addition? Want to become more efficient at finish grading with a skid steer bucket? If you answered yes to either question, then you are in the right place.
The Right Bucket
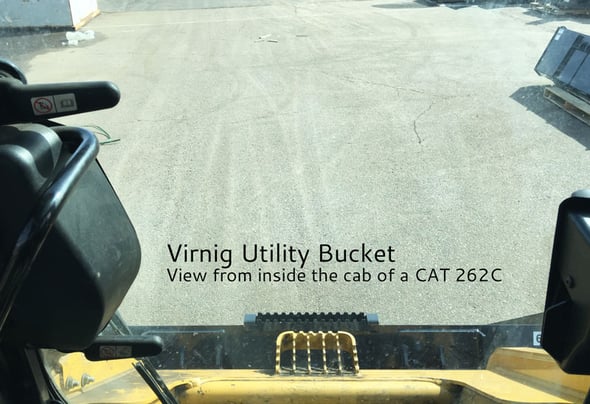
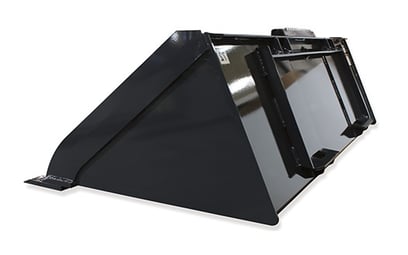
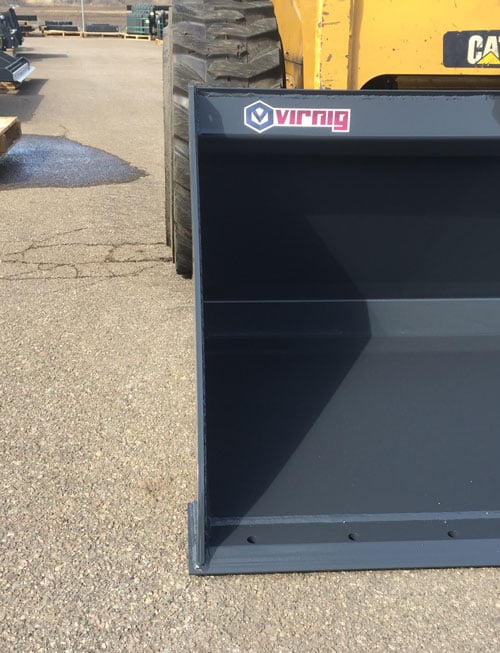
Visibility is very important when grading. If you cannot see the bucket edge, it will be more difficult to properly grade. Buckets with a low-profile design have lower sides and back and an extended bottom allowing the operator to easily see the bucket edge.
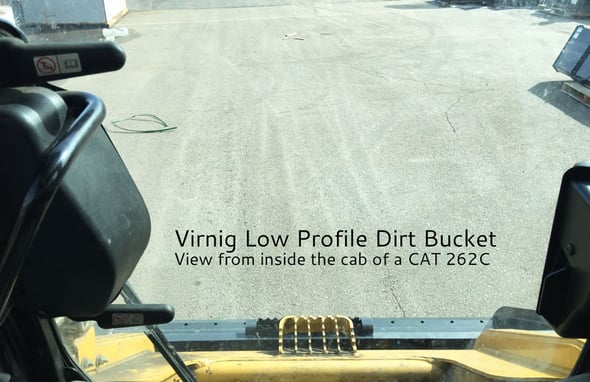
Also, buckets with one bend at the back of the shell, rather than multiple, will level better while in reverse (see picture below).
Virnig 72" Low Profile Dirt Bucket with Grading Bend.
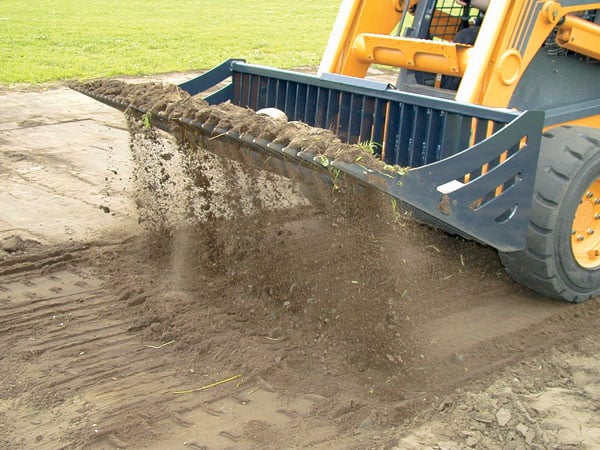
To maximize grading efficiency, the bucket should be at least two inches wider than the tires or tracks of the skid steer (see example below).
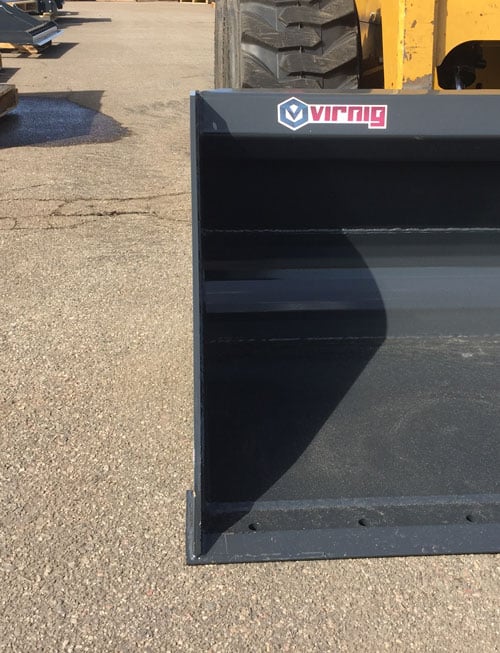
If the bucket is not wider than the machine then it will track over the soil you’ve graded.
Project Planning
In order to prevent puddles from forming a property should have a slope and never be completely flat, and the ground should slope away from buildings in all directions. At minimum, the ground must slope away from the foundation at least six inches within the first 10 feet. [Learn more about soil grading around new construction, existing construction and flat lots]. To find an acceptable slope for a property check the local building codes before starting.
For proper drainage landscaped areas should have a minimum slope of two percent. [Learn more about proper water drainage and slope].
There are plenty of questions you should be asking yourself before you start a grading project. Do you need to change the grade so water flows in a different direction? Do you just need to fill the low spots and carve off the high spots? Are any buildings, patios, porches, or decks near the area to be worked on? Is there an underground sprinkler system? Underground plumbing?
Answer the questions above and paint a picture in your mind of what you want the finished product to look like and climb into the skid steer. You are now one with the machine and the bucket is an extension of yourself.
Step-By-Step Guide
Here are the necessary steps to successfully grade dirt.
1. Remove any large rocks (baseball size and larger). A Skeleton Rock Bucket works well for this.
2. Shave down and fill in obvious high and low points. Goal is to have the ground as level as possible before doing more precise final grading.
3. Build up dirt in the areas next to buildings, patios, etc.
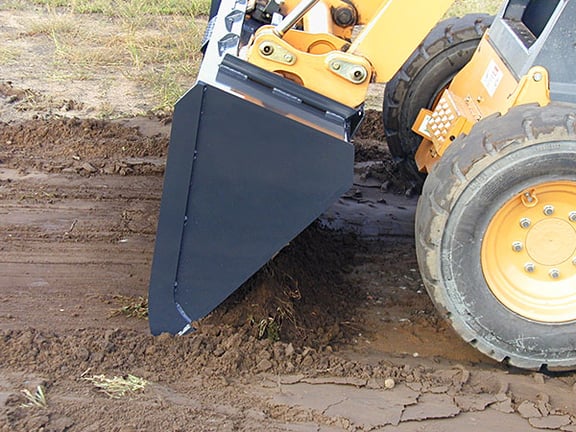
4. Grade all areas by working with the skid steer bucket flat, the loader arms lowered, and use minor corrections in the bucket angle to change the depth of your cut. A slight correction in the bucket angle is more efficient than using the loader arms. You need to develop a feel for bucket angle control. Learn how to make fine adjustments to the bucket rather than big jumps.
5. Make sure the finished grade ends up matching the level of existing fixtures – walkways, patios, established lawn. If adding sod then the grade should be about two inches lower than the fixtures.
6. Use a hand rake to make minor grade adjustments.
7. Water the entire area and check for puddles. Allow the soil to dry and use the higher spots to fill in depressions where puddles formed.
Nobody likes lawn puddles, except...
Keys to Success
- The best operators are very smooth with the machine. Limiting unnecessary movement of the machine ensures dirt is being placed in the right areas at all times. This efficiency adds up to quick completion of the job and saves money. Know your machine, its capabilities and its limitations in order to become a smooth operator.
- The key to is to travel at a speed you can handle and start with the throttle at about 75 percent (most newer machines run well at ¾ throttle). If the throttle is too low, the hydraulics will be too slow to respond. At high travel speed, it's hard for the operator to respond quickly. Find your machine’s sweet spot by adjusting the throttle accordingly. It is not a race so start slow and find what is comfortable for you.
- The goal is to only handle material once, accomplish this by taking small sections at a time.
- Limit the skid steer bucket load and avoid slipping your wheels. Spinning causes tire wear and will require dirt to be reworked.
- Always think two steps ahead and position the machine for the next pass.
- If your grade is not level after a couple of passes try going across diagonally in the same area.
- To maintain an established grade, start from a level point and make passes half a bucket wide, matching each pass to the existing grade. That way one of your tracks is (hopefully) on level ground.
Practice, Practice, Practice
Nobody jumps into a skid steer with no practice and carries a grade for the first time. It often takes years of quality practice and tons of patience. You learn more as you go and it helps to watch others. If grading with a bucket attachment is not working for you, it may be time to consider purchasing a Land Leveler.