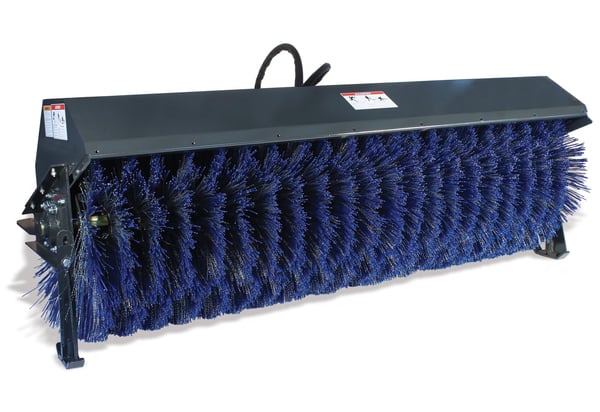
Skid steer broom attachments are beneficial for quickly clearing debris or light snow from surfaces. It is crucial to keep your broom in good working condition so that you’re always functioning at peak performance. This post will detail how to replace the wafers on an Angle Broom.
Maintenance Schedule
Before each use and after every 10 hours of operation, check for wear on the wafers. If the outside diameter of the wafers is one-half of the original diameter, they need to be replaced—original diameter of wafers on the Angle Broom is 32".
Where to Buy New Wafers
Locate your nearest Virnig dealer to purchase replacement wafers. We don’t recommend purchasing elsewhere, since our dealers will make sure you get the right size and quantity.
Tools Required
- Impact wrench with deep socket or open-ended wrench:
- 1/2” to undo the clamp on the top of the attachment securing hydraulic hoses
- 3/4” (or 19mm) for motor nuts
- 9/16” for the cap at the bearing end of the core to slide the wafers off and to remove bolt holding the Drive Adapter on the Hydraulic Motor
- Replacement wafers
Steps to Replacing Wafers
Turn the engine off and move the broom attachment to a level surface. Lower the broom to align with surface.
1. Remove Hydraulic Motor Assembly
Disconnect hydraulic hoses from the hose clamp so the motor pulls out easily. Remove the four nuts holding the Hydraulic Motor Assembly in place. Remove the four additional nuts holding the Bearing Mount Plate to remove Bearing.
2. Remove Plates
The core should be free from the brush head. Lift the brush head and remove to expose the core. Remove Retaining Plate from the end of the core.
3. Remove Old Brush Sections
Inspect drive bars for indentations or excessive wear. Replace core cage if damaged.
4. Install New Brush Sections
Stand the core on its end and install new brush sections, ensuring the drive pins of the wafers engage one of the core drive bars. For a snug fit, install consecutive wafers so drive pins are spaced 180° apart. Starting with a poly wafer, alternate between poly and wire wafers until the core is full. The ending wafer should be poly.
5. Reinstall Plates
Reinstall the Retaining Plate and carefully lay the core on the ground. Do not use the wafers to move the core. Lower brush head over core with new brush sections. Reinstall Bearing Mount Plate, securing with nuts.
6. Reinstall Hydraulic Motor Assembly
Before reinstalling the motor, remove the 3/8" bolt holding the Drive Adapter on the Hydraulic Motor and apply a thin layer of grease to the splines of the motor. Reinstall Drive Adapter to the Hydraulic Motor, then reinstall Hydraulic Motor Assembly and secure with nuts. Finally, reinstall hydraulic hoses in the hose clamp.
Now that you've installed your new wafers, you're ready to return to cleaning up debris to ensure the path you leave behind is clean and admirable. Are you looking for ways to help get the most out of your angle broom? Check out this blog to learn six tips for using your broom attachment.
